Monday, September 23, 2013

A taste of Nougat

Excuse the cheesy title - couldn't resist.  Anyway, I started salivating over the Nougat pattern as soon as I saw it.  I seldom get excited over patterns produced by hobbyists because they are usually pitched way below my skill level and interest, and so frequently something I could draft myself very easily.  AnaJan may not be a "professional" patternmaker, but she is trained, and boy did she produce a cracker!

Enter the frustrations!  Firstly I had to wait a day to get the pattern because after you purchase on Etsy AnaJan sends you an invoice, you pay it, then she makes the pattern available to download. She warns that this can take up to a couple of days, and given her location in Serbia and mine in New Zealand, I expected a delay.  In fact from purchase to download was less than 24 hours, which I thought was pretty good! (I have no complaints about the purchase process, I'm just totally crap at waiting for anything).  That was Monday.  I had the pattern first thing Tuesday. Since my home printer is running low on ink and the pattern is 60 pages I figured I'd pop along to Warehouse Stationery and print it there.  At which point Isabella threw up.  And the poor thing had a not-very-violent, but very dragged out tummy bug.  She was off school for the rest of the week, at which point Nicholas got it, and was off for most of the following week.  Since you can't take sick kids anywhere, that meant I had to wait till the weekend to get out and print!

You know that bit where they tell you to print out the test square first? Yeah, you should totally do that!  I didn't, and when I finally got time to check the pattern I realised it hadn't printed to scale! I wondered how far off it would be if I just went down a size, and with nothing to lose I gave that a shot.  This is a size 34 printed slightly larger than it should have.  (The 10cm square came out more like 11cm) It isn't terrible, and I toyed with the idea of just working with this and making it work.


But grading doesn't increase evenly in all directions, so it was going to take work to make this fit properly, and there are all those lovely swirly lines to contend with, and I figured I'd be nuts to waste all that time!  As I was moaning by text to a friend, she kindly offered to do the re-print for me (I owe her a HUGE favour now)  And this is how a correctly scaled size 36 looks.  So much better! (She suggested putting the test square on page 1. I'd forgotten to tell her where it was and it took her a while to find it)


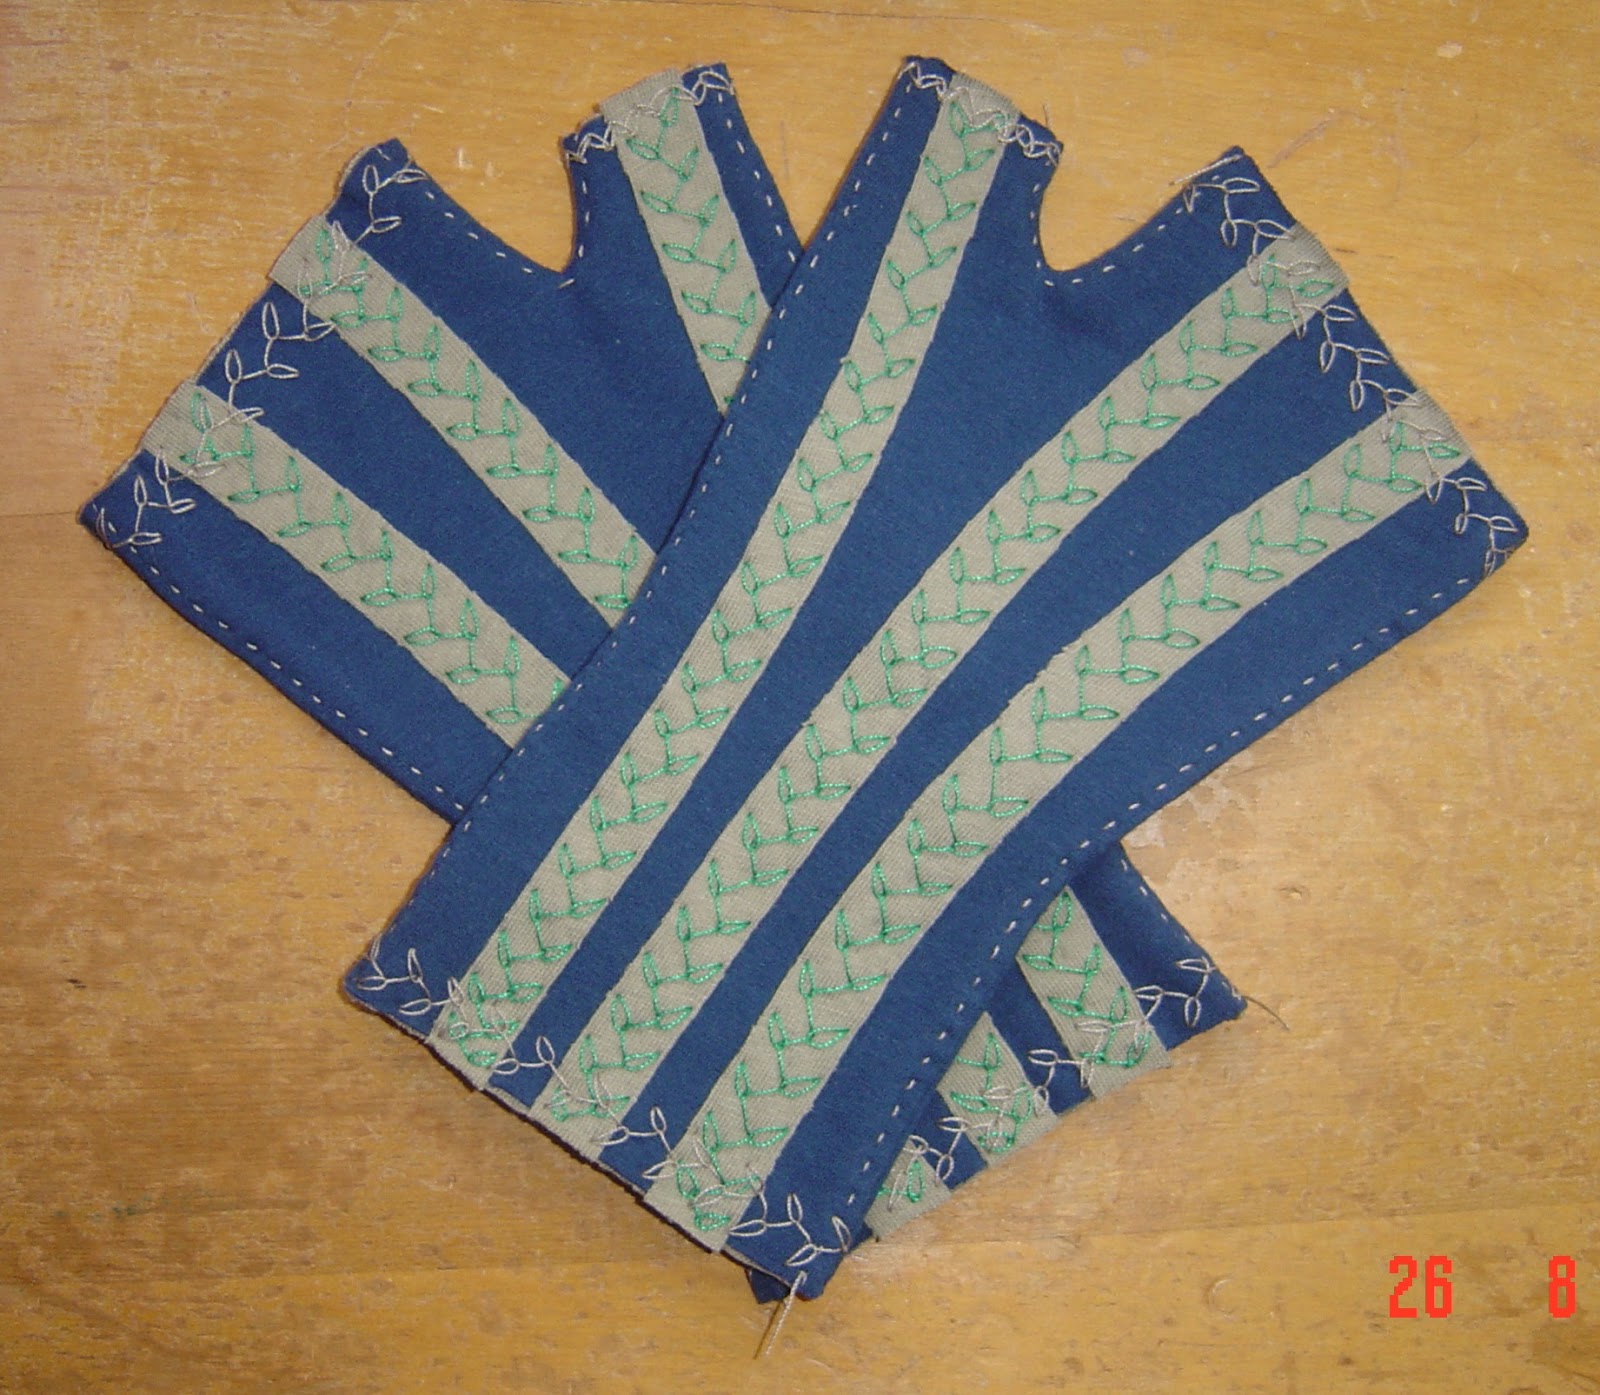
Just a note, there are no seam allowances on the neckline, armhole or waistline edges. I find with a fitting toile that it is easier to visualise the finished garment if you have the finished dimensions.

So, all the kids are over their bugs and back at school, giving me time and space to get started.  I'm very happy with the fit of my second toile, so I'm going to go ahead and work from that.  I may lower the waistline a little bit, but everything else is fine.

I spoke too soon. Literally just as I finished typing the above the phone rang. Oliver has been vomiting at school.

Tuesday, September 17, 2013

Swearing on my clothes

Not that you can see it of course, which is the point, but here is my Alabama Chanin poetry tank, with added f-word.

Back.

I love the fit, the colours, everything about this.  I'm keen to have a crack at making the dress version of this pattern.  I can't see myself ever getting bored with this technique.  The possibilities are endless!

Next up I'm going to make the Nougat dress, by Stepalica patterns.  Once my children all get over their tummy bugs....

Oh, and Georgia bids me tell everyone that I nicked her jeans again. She still hasn't realised I've been wearing her pink ones for weeks. Well, she's reading over my shoulder, so now she does!

Thursday, September 5, 2013

Make it in every colour

I love this style of shrug. This is the third one I've made for myself, and it won't be the last. It's McCalls 5398, which is OOP. There is enough coverage at the back and around the back of my neck to be cosy enough even in winter (given the number of layers I typically wear!) but being open in the front means that my tops or dresses (which are usually my more interesting garments. Not today obviously) are visible.

Back. See what I mean about the coverage? Nice and cosy.


Flat.  It is essentially a folded rectangle with sleeves and a band, but those diagonal seams are shoulder seams, so it has a nicer shape than a simple rectangle.


The hat I'm wearing (conveniently hiding my post-run not-fit-to-be-seen hair)  is what I managed to eke out of the scraps after eking the shrug out of a 0.9m remnant of merino/nylon/polyester/lycra which I picked up for a bargain $7 at the Fabric Store! (formerly Global Fabrics, for locals)  This stuff is smooth and silky feeling on the outside with a really soft loopy interior. Incredibly lovely to wear.

And my jeans? I nicked them from my daughter. My 13 year old daughter. (She'd gone off them and hasn't noticed I've been wearing them since I had a pair the same colour but bigger!). Yep, I'm becoming that Mum. The one who wears her daughter's clothes. Oh dear.

Monday, August 26, 2013

Quick pair of gloves

It's my Mum's birthday next month, but she will be in England for it, specifically Devon.  After which she will be in Scotland, for which these might be appropriate!  These gloves (fingerless mitts from Alabama Studio Sewing and Design) are quick and easy to make, so are ideal for a gift.


Meanwhile I am still working on my Poetry Tank.  Here are the four sections laid out in order LF, LB, RB, RF. If you click to enlarge the pic you might see the secret word I added.  One letter per panel.


Or maybe this will make it show up better.


Yep, pretty juvenile. I do like a good swear at times, as anyone who knows me will attest! It was actually Keely's idea - she suggested breaking the word up over a seam so it wasn't obvious, and I thought if I put one letter per panel, not painted, nobody would notice (I DO NOT like swear words out there for all the world, ie children, to see) but it will make me smirk to know I am walking around saying f*** all day. Man I am way too easily amused. I should grow up and act my age.

Saturday, July 20, 2013

Well that was quick.

Um, this took about a month. I knew it'd be quicker than my last dress, but even so, it worked up way quicker than I expected!  Based on the amount of thread used, I'm guessing 60-80 hours of work.  This is the Alabama Chanin corset top, and the skirt from their tank dress pattern.  I intend that these two pieces can be worn together or separately.
Back.

This is what normally happens when I try to take photos during the weekend.


And because I CAN'T be without an Alabama Chanin project, and haven't found the right shade of rasberry pink for the rose dress I want to make next, I raced out this morning and bought this lot, directly inspired by the fitted top with poetry stencil shown on the Alabama Chanin Journal last week.  M did roll her eyes slightly when I went into her workplace to print out the stencil and get the laminator plastic to use as the stencil.  Can't think why.

Tuesday, June 25, 2013

Spring flowers - oops, wrong season.

I'm letting impatience to post overtake desire to look fabulous here. I finished my latest Alabama Chanin dress last week and it has been TOO FRICKIN' COLD to venture outside for nice photos. Snow, rain, howling gales - the works!  Fortunately Dunedin has not fared too badly, unlike many other parts of the country, but still it seems like it has been a long wait for decent light.  Today I grabbed an opportunity, and here is the result of around 120ish hours of work. A tank dress from Alabama Studio Style, with Abbies Flower stencil, which I resized a bit and fattened up a bit.


I base the 120ish hours on the fact that I timed one 1.5m length of thread to take about an hour to work and I used 200m of thread.  It's a very rough estimate, but no way am I timing one of these babies for real!  I know I started this dress before I went to Wellington in March, so it is months of work.

And I am so in love with it I cannot express it! Now all I need are an appropriately coloured merino thermal top and leggings to go underneath and I will be able to WEAR it!

My craft group ladies are probably a bit sick of seeing this dress every fortnight for the past three months or so, so here you go ladies - this is what you'll be seeing for the next while. Not three months though as this is waaaaaaaaaay quicker to stitch!  This is one panel of a six panel skirt, which got to this point in only a day or two.  I'm also making a matching corset top, to be worn together or separately.


Close up of the stencilled, stitched and snipped dots and the appliqued ones.  I want to get a thread which matches the top layer to blanket stitch the maroon appliqued dots.


Not even close to getting tired of the Alabama Chanin style, making it or wearing it.  I am actually a bit antsy because I know what I want to make next and I'm worried that I won't be able to find the shade of fabric I want. No I don't have an Alabama Chanin problem, why do you ask?

Monday, May 27, 2013

Combatting the cold.

It may be May, but it is getting COLD!  According to my weather app it was 3degC this morning (that's 37.4F)  Real Feel (ie, with wind chill taken into account) it was -6C.  21.2F.  I am not a fan of the cold AT ALL!  I prefer to wear layers of lighter weight clothes rather than a few thick or bulky layers, and I needed (as one does) some long sleeved tops which look nice, and can take a merino thermal underneath.  I like a bit of interest as I often wear open cardigans.

Enter the HotPatterns 3 Graces top.  I have made it before, sleeveless, and really liked it, so decided to make it again, this time with sleeves. (I'm wearing a long sleeved merino thermal under this, and I am toasty warm.)

I'm really pleased with this top.  I got it all done in one morning from cutting to finishing.  (It helped that I had the pattern traced and altered to fit already.)  Although I did almost go insane trying to find a SM needle which would work - everything caused skipped stitches, one or two didn't catch a single stitch!  In the end a slightly used microtex size 60 worked perfectly. Which was just as well because I didn't have anything else to try in any type, size or condition. And I even managed to work out the draped bit without having to refer to my previous version, or Trudy's Youtube video.

I really like the overly long sleeves, which help prevent draughts when it is FREEZING COLD walking to school.  Which we started as of Friday when the twins did this.


Where did that five years go?

Tuesday, April 30, 2013

Spiral dress prototype.

Firstly, thank you for the supportive comments on my last post - I pretty much never share my opinions on controversial subjects on the internet, since it is a terrible place to try and have a reasoned and civil debate!  This was just one subject on which I wanted my support to be on the record.

So, back to sewing.  I saw this great idea on pinterest, as one does. (It comes originally from Fashion Incubator.) A spiral cut dress.  What a neat idea I thought, I'd love to try that for Isabella!  So I did.  Starting with a size 7 block, it was pretty straightforward drafting.


This shot gives a better idea of the shape, and shows how the panels spiral around with no side seams.


I'm a bit "eh" about it, which is fine, as it was intended to be a prototype.  Since I knew it would at least be wearable I finished it to be worn, and of course Isabella loves it!  I am going to have another crack at the skirt portion of the draft, this time with considerably more flare - this ended up more A line than twirly.

The twins turn five in a few weeks, and I'd like a better version of this to be Isabella's birthday dress.  Probably pink.  My girl loves her pink. There are six panels so it can be made with one, two, three or six colours!  I wonder how a rainbow would look?

Thursday, April 18, 2013

Yay New Zealand!

Warning - potentially unpopular opinion follows.  Ok this is a sewing blog, and I usually (and should) keep my opinions on politics, religion and other contentious topics to myself, but DAMN I am so proud to be a New Zealander today - the 13th country in the world to legalize gay marriage as of last night!

This is a topic about which I feel strongly.  As a heterosexual atheist woman who got married recently enough to have a choice between marriage and a civil union (equal in law) I wanted to be married.  I see no reason that anyone else with the same level of commitment to their chosen partner should be denied the same status.  What will happen now?  Gay people will get married.  The rest of the world will continue exactly as before.  The end.

Thursday, March 21, 2013

What used to be jeans

Recycling, upcycling, refashioning - call it what you will, I love turning clothes I won't wear into something that someone will wear.  This dress started life as a couple of pairs of jeans and a shirt which came in a bag of hand me downs, which sadly didn't quite fit me.  Since the jeans had wide legs I figured I'd harvest the fabric and make Isabella a dress.  This one is based on a size 7 (Aldrich, naturally) block, so is roomy and long, but wearable.

This shot shows the petal sleeve a bit better.


And the back.  I reused the pockets too.


I don't like to waste the unused bits of clothes I cut up, so the leftovers of this dress (and a few other rework projects) are destined for another life as various things.  I have so many pins on Pinterest of things I want to do one day.  Seriously, I'll have to live to be really really really old to do everything I've ever wanted to do!

And poor Isabella didn't get this dress till today because she was unable to wear dresses for a week and a half because of this.


She took a tumble from a four foot tall jumping box at kindy (thanks to a shove from an impatient class mate) and landed awkwardly on her foot.  An x ray showed no break, but apparently it can be hard to be sure in young children, and it was clearly badly sprained so they put this on - partly plaster, partly cotton wool and bandage.  She spent 12 days crawling, riding on her three wheeler and being carried.  No dress till she was walking again.  The cast came off on Tuesday and she is now limping around like a champ, and delighted to get a new dress.

Monday, March 18, 2013

Meeting the locals

Funny you should ask if I'm in Wellington Grace - I actually live in Dunedin (way down the east coast of the South Island), but just last week I was in Wellington, catching up with family.  The trip included the obligatory visit to Te Papa (Museum of New Zealand), where I met these guys.


Comments regarding the number of trolls in the picture invited! (J? K? M? - go on, you know you want to!) Phone pic courtesy of the sister I went with because I forgot to pack my camera.

That is my Alabama Chanin skirt I'm wearing.  It is really really really comfortable and I love it to bits.  I think I need about twelve more, but with pockets.

Monday, March 4, 2013

New Alabama Chanin Skirt

So I finished my slow skirt.  Made from the left over fabric from my epic hand stitched dress project this was kind of a filler project while I worked out what Alabama Chanin project to tackle next.  These things are great to take to craft nights or just have on hand to pick up and put down as the desire to hand work something takes me.  I thought I'd run out of enthusiasm for the time consuming process after making one project, but I've made myself three corset tops, a tank top, and a dress before this skirt, not to mention fingerless mitts for me and four Kindy teachers, and a corset top for my sister.  I've started the new dress for me, and seriously I LOVE working like this!  I love the process and I love wearing the garments when I'm done.  Anyway, here it is on my dummy.  (I've no idea why it's a bit lopsided.  I didn't notice till I put the photos on the computer, and just couldn't be bothered retaking them!)


Instead of the foldover elastic at the waistline I added a separate casing with elastic, which I attached with a zig zag chain stitch.  I was nervous that this wouldn't stretch enough to get over my hips, but it's just fine.  Yay!

I hate taking photos of myself, but in the interests of showing how it looks on I put it on for some shots.  I wouldn't normally wear a T shirt tucked into it, and in fact I have some more of the peacock underlayer fabric and when I have time I'm going to make a plain corset top to wear with it.

Both twins got in this pic with me.  Can you spot Nicholas?


To close, I put myself on the Sewintists map.  Where I am currently the most southerly pin in the whole world.  There has GOT to be someone south of me who sews!

Wednesday, February 20, 2013

Trench coat from stash

I needed a new lightweight coat.  I'm going to Wellington for a few days with one of my sisters next month to visit family. (That reunion at Christmas has sparked a few more!) My other light coats are getting a bit tired, and while still serviceable, not nice enough for a trip away - you know how it is!

In the interest of having as much spending money as possible while away (ie, some) I figured I'd see what I could do using only stuff I had on hand.

As it turned out, without buying a single thing, I could do this.


The pattern is from one of my back collection of Burda magazines, 03/09 #119, with the pockets from #115 from the same issue. Everything I used to make this I already had - pattern, fabric, lining, bias binding (on the bottom of the lining), interfacing, thread, sleeve belt buckles.  The tiny lining inside is from leftover scraps from the wool/cashmere coat I made several years ago, so I give myself a bonus stashbusting point for that!  There are no buttons.  I didn't have any, so for now I'll wear it belted or open, and will add buttons when I get around to it.  (Although I did put a nice keyhole buttonhole onto the gun flap, just because I like how it looks. And it was a chance to use my beloved Greist buttonholer.)

Here's the inside.  I like the tiny partial lining.


The only problem I had was with my first attempt at binding.  I cut strips from fabric left over from a pair of rather funky pants I'd made for David once upon a time, and I could NOT get my machine to stitch on it no matter what I did.  It kept skipping stitches despite trying every type of needle I could think of (leather, stretch, regular [several weights], jeans, microtex,).  A walking foot didn't help, and neither did my usual fall back of stitching through paper.  Given that I had successfully topstitched the pants for David, that drove me NUTS! (Click on the pic for a bigger, clearer view)


So I ended up with this, and a massive dose of frustration.  


The fabric I ended up choosing for binding is a regular woven, and behaved perfectly.  I'd still like to have had that silver though.


Meanwhile my Alabama Chanin skirt is now being seamed!  All six panels have been stitched and snipped and I just have to join them together, add a waistband and rosebud stitch the hem.  Just in time for my trip.
( I was working on it on holiday, so my cousins want to see it done now!)


And because I MUST have the next Alabama Chanin project lined up for when one is finished, I have stenciled the pieces for another tank dress.  This is the Abbie's Flower stencil, fattened up a bit.  Um, yeah, stitching these is going to take a while.  I'm not snipping out the interior of the shapes, or beading on this dress, so it'll be a bit more wearable for every day.


OK girls, can we all guess what project is coming to every craft night for the next year?

Tuesday, February 12, 2013

Copying a RTW skirt

My lovely 83 year old bride-to-be brought me a skirt which she likes to copy for her wedding outfit.  It is one of the simplest garments to copy, being a simple six gore skirt - no darts, no gathers, no intricate details.  Here's how I like to do it.

Firstly I had to have an appropriate surface.  I need to poke pins through the garment into paper, so it has to be padded, but not so soft that I can't hold down garment sections with my hand without distortion.  Like this.  This is a blanket folded in four, and when I press down the paper distorts, which would make an accurate copy harder to achieve.


This is the blanket folded in two.  When I press down on the paper there is very little distortion. A carpeted floor is also good, but hard on the back to be hunched over!


To copy each section I placed pins vertically through the piece to be copied to hold it in place, then used another pin to poke through at intervals all along the seam lines all around the piece.  I couldn't get a photo of the the pricked holes unfortunately, but basically after pricking off the piece you connect the dots to reproduce your garment section.


To copy the centre front I aligned and pinned the seam lines and lined up the CF along a ruler before following the same process.

After adding nice wide seam allowances, the pattern is ready to go.

The first fitting showed the skirt needed minor alterations at the waist, and the top a couple of tweaks, which show up nicely when drawn onto my toile with a sharpie.  The shoulders are too wide, the waist needs to come in a little, and the CB seam needs to be slightly more contoured.


The sleeve didn't hang well when moved into place, so for our second fitting I modified it to raise the sleeve cap and narrow the sleeve.  This is the altered pattern on top of the original sleeve. (The diagonal overlap is where I joined two pieces of paper to make the original sleeve pattern.  Ignore it).  The pattern has been slashed vertically and horizontally, with the vertical slash overlapping, and the horizontal one spread.


At our second fitting this was a big improvement, but I'm going to do the same thing again to get a bit more height and a bit less width.

And for myself I've started working on a trench jacket.  Progress post on that to follow!

Wednesday, January 30, 2013

Drafting a commission

I have been commissioned to make a two piece wedding dress for a lady in my MIL's knitting group.  This utterly delightful lady is 83, and such a pleasure to talk to - I LOVE old people who are still ALIVE!

Anyway, when she came around to discuss the style she wanted it became apparent that I would have to draft it, since she didn't have a pattern in mind.  This is always fine by me, and it got me thinking about a blog post on Fashion Incubator which refers to a blog post written by a hobby seamstress (Belinda - Sew4fun) describing her efforts to draft from scratch, only to ultimately end up modifying existing patterns.  I was really interested to read that (along with everything else Kathleen writes, I might add) because that is what I almost invariably do when making commissioned garments. (My childrens' designs are drafted from blocks I drafted from scratch.) I almost exclusively use Burda magazines, which I've been buying for over 20 years.  (Not every issue by any means, but I have a  l-a-r-g-e  pile)  I like how they fit, and the absence of seam allowances makes the modification process much simpler.  When making a pattern for someone from a picture or sketch I go through the magazines and find something which has the basic shape I am looking for, and modify it to add the details.  It works really really well, so I thought that just for fun I'd share the process I followed for this outfit as I make it.

First of all I had to find a pattern which had the right silhouette to modify.  The top of her outfit has a cowl neckline set into a seam from above the armhole notch on one armhole, down to the bust point, across to the other bust point and back up to the notch on the other armhole.  My sketching is terrible so I don't have that to show.

This is what I started with - a tunic from BWOF 05/56, #130.  Her bust measurement corresponds to a Burda 46, which this pattern includes.  It has horizontal bust darts, which can easily be pivoted into the neckline becoming part of the cowl draping.


I also considered this one, BWOF 03/12, #102 as it had the same attributes.  Flat pattern measuring showed both to be very similar in bust, waist and hip circumference, but this one had a much narrower sleeve (which was apparent in the photo as well) which I thought could bind on my lady's arm, look tight and not be comfortable.  (Another small vote in favour of the previous pattern was the fact that there were fewer designs printed on each page, making it easier to trace!)


In addition I added the back seam shaping and darts from this one, BWOF 06/06 ##130, to bring in the back so that it doesn't hang like a sack.  My lady has a bit of a rounded upper back, but not a real dowagers hump, so I'm anticipating that there may be some alteration needed to accommodate this, which our first toile should show.


So, first up is the front.  Here it is, unmodified.


First up I drew a style line from armhole to bust point to CF.  Closing the horizontal bust dart and opening it into the neck got me to this.

Then I further slashed and spread the piece to get a finished cowl depth to match a previously determined measurement.

See - easy!  After adding (wide) seam allowances the front pieces, back and sleeves are ready to go.  I just have to go back to the original pattern and trace off the upper front again for a stay to go under the cowl. I'll post progress once I make up the toile.

And to close, a gratuitous pic of Isabella, wearing the dress I made for Georgia to wear as our flower girl/ring bearer when we got married.

Georgia was 6 1/2.  Isabella is 4 1/2. It fits perfectly.