Wednesday, January 30, 2013

Drafting a commission

I have been commissioned to make a two piece wedding dress for a lady in my MIL's knitting group.  This utterly delightful lady is 83, and such a pleasure to talk to - I LOVE old people who are still ALIVE!

Anyway, when she came around to discuss the style she wanted it became apparent that I would have to draft it, since she didn't have a pattern in mind.  This is always fine by me, and it got me thinking about a blog post on Fashion Incubator which refers to a blog post written by a hobby seamstress (Belinda - Sew4fun) describing her efforts to draft from scratch, only to ultimately end up modifying existing patterns.  I was really interested to read that (along with everything else Kathleen writes, I might add) because that is what I almost invariably do when making commissioned garments. (My childrens' designs are drafted from blocks I drafted from scratch.) I almost exclusively use Burda magazines, which I've been buying for over 20 years.  (Not every issue by any means, but I have a  l-a-r-g-e  pile)  I like how they fit, and the absence of seam allowances makes the modification process much simpler.  When making a pattern for someone from a picture or sketch I go through the magazines and find something which has the basic shape I am looking for, and modify it to add the details.  It works really really well, so I thought that just for fun I'd share the process I followed for this outfit as I make it.

First of all I had to find a pattern which had the right silhouette to modify.  The top of her outfit has a cowl neckline set into a seam from above the armhole notch on one armhole, down to the bust point, across to the other bust point and back up to the notch on the other armhole.  My sketching is terrible so I don't have that to show.

This is what I started with - a tunic from BWOF 05/56, #130.  Her bust measurement corresponds to a Burda 46, which this pattern includes.  It has horizontal bust darts, which can easily be pivoted into the neckline becoming part of the cowl draping.


I also considered this one, BWOF 03/12, #102 as it had the same attributes.  Flat pattern measuring showed both to be very similar in bust, waist and hip circumference, but this one had a much narrower sleeve (which was apparent in the photo as well) which I thought could bind on my lady's arm, look tight and not be comfortable.  (Another small vote in favour of the previous pattern was the fact that there were fewer designs printed on each page, making it easier to trace!)


In addition I added the back seam shaping and darts from this one, BWOF 06/06 ##130, to bring in the back so that it doesn't hang like a sack.  My lady has a bit of a rounded upper back, but not a real dowagers hump, so I'm anticipating that there may be some alteration needed to accommodate this, which our first toile should show.


So, first up is the front.  Here it is, unmodified.


First up I drew a style line from armhole to bust point to CF.  Closing the horizontal bust dart and opening it into the neck got me to this.

Then I further slashed and spread the piece to get a finished cowl depth to match a previously determined measurement.

See - easy!  After adding (wide) seam allowances the front pieces, back and sleeves are ready to go.  I just have to go back to the original pattern and trace off the upper front again for a stay to go under the cowl. I'll post progress once I make up the toile.

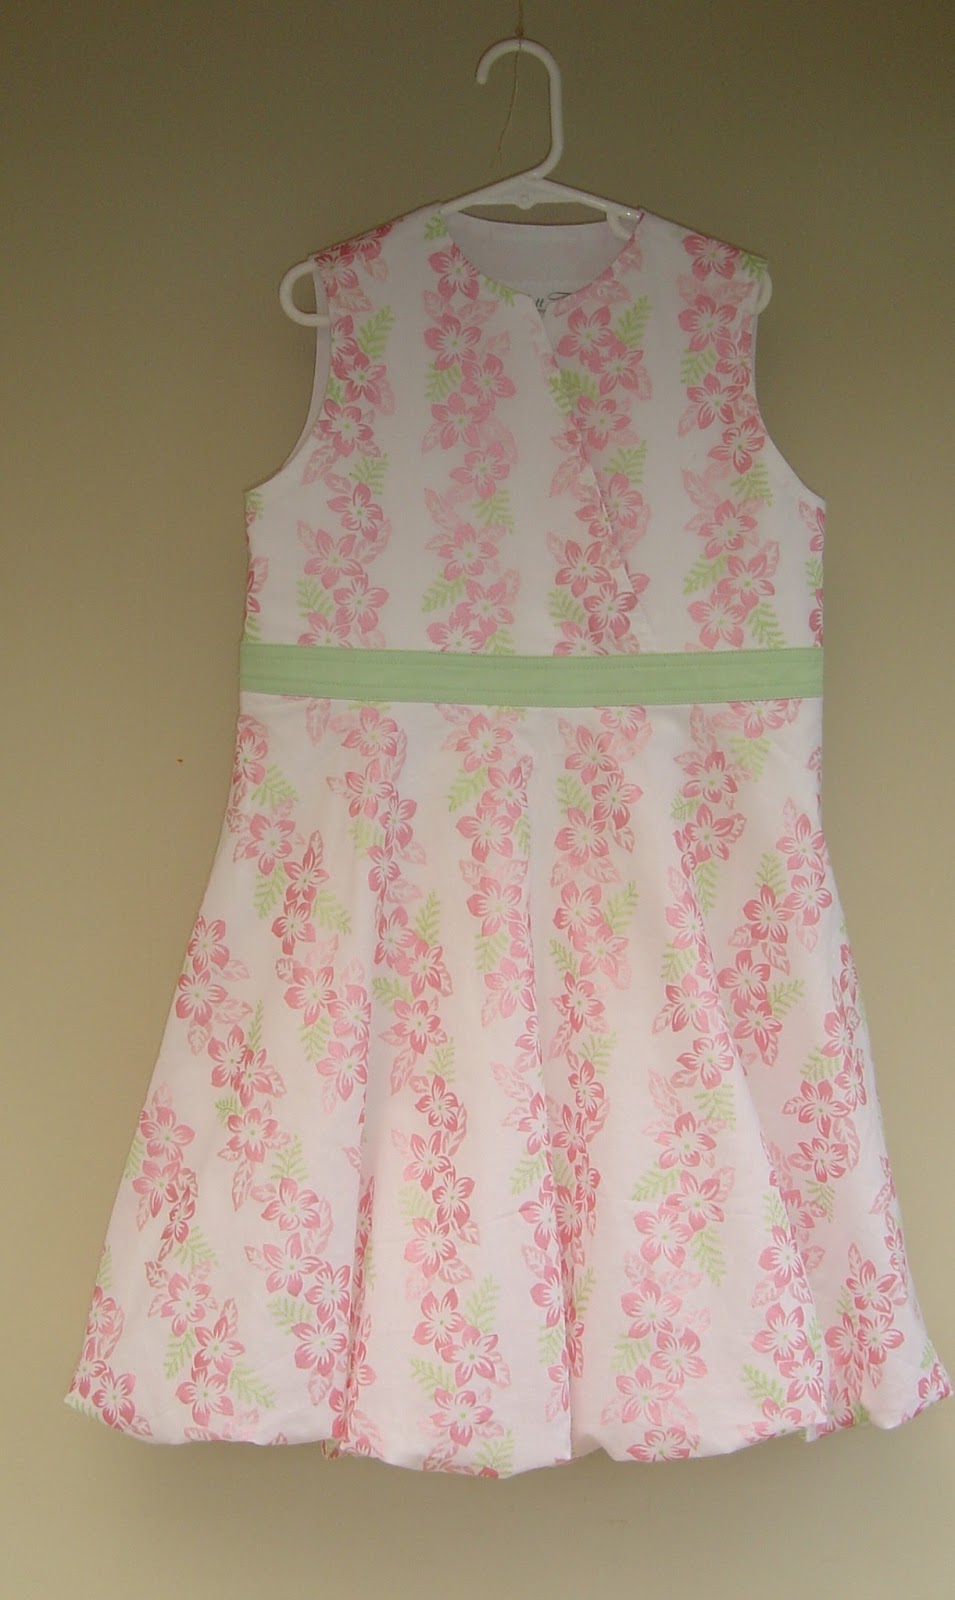
And to close, a gratuitous pic of Isabella, wearing the dress I made for Georgia to wear as our flower girl/ring bearer when we got married.

Georgia was 6 1/2.  Isabella is 4 1/2. It fits perfectly.


Friday, January 25, 2013

The Worst School Uniform Skirt Design In The World.

Warning - rant follows. (Like, the whole post is a rant)

Georgia is off to High School this year.  Her school changed its uniform two years ago, (so Cayden wasn't affected, thank goodness) which I dislike intensely.  It is (considerably) more expensive, and way less durable and practical.  And instead of one uniform for four years (with boys switching to long pants for the latter two) and mufti in their final year, it has become a whole different uniform for juniors and seniors.  I hated it as soon as I heard about it, and then I got my hands on it.

We were incredibly fortunate to be able to buy a second hand uniform (given how recently it was introduced, there aren't many around!) which saved around $300.  Not the size I would have bought for Georgia if I bought new, but once again I thank my lucky stars that not only can I sew, but I can sew WELL.

Here is her skirt (after I've operated on it).  Nice isn't it?

No, it isn't.  I swear whoever designed this item sat down one day and tried to think up ways to make it as unalterable as possible.  For girls who are 13-15 years old.  Right when most of them grow.  It is a faux wrap with the free hanging panel caught in the right side seam, topped off with a yoke.  There is no easy way to make reversible changes to the skirt - you can't buy one a bit too big and take it in and up till she grows.  If she does and you don't want to spend another $90 on a skirt for the last term of her junior years, you can't let it out or let down the hem.  Unless you are me, and prepared to spend the multiple hours required to do so, providing of course that you have at least my level of experience and know how to do it!  No false modesty here folks - I know my way around alterations.

Attractive yoke isn't it?  Shame it is invisible under the shirt designed to always be worn untucked.


This is how the right side seam looks now.  The little patch in the yoke was harvested from the inside.  Incidentally, the inseam zipped pocket in the only possible seam which could be altered didn't make it any easier.


I replaced the harvested bit inside the yoke with this patch.  Nobody can see it, it'll do.  You can just see the top of my added side panel under it.


To make the skirt bigger I snuck an extra panel of close-enough navy fabric under the flap, where you can't see it.  By the way - do you see the embroidered logo on the corner of the flap?


Yeah, it's stitched through the sewn hem, so you can't adjust the hem either.


I have never ever seen a school uniform design as flawed as this.  The girl who owned it before Georgia had clearly grown during the two years she had worn it (as one would expect of a girl her age), and the skirt lining has pulled so badly at the seams that it is unsalveageable.  The ONLY thing this skirt has in its favour is that the lining is sewn on as an afterthought to the yoke.  It was easy to remove, and will be easy to replace.

This skirt annoys me for so many reasons - it is so difficult to alter that for the vast majority of Mums (let's face it, it's mostly mums who repair and hem uniforms, if anyone does)that it would be well beyond their capabilities, and because what can be done is so time consuming it would be prohibitively expensive to pay someone to do it. So, you pay $90 for a skirt when your daughter is 13 and highly likely to grow, making it very possible that it won't fit her for the two years she needs it.  And pretty much your only option is to fork out another $90.

Since I don't like non-constructive criticism, I put a fair bit of thought into how this design could be improved.  (It is a lovely skirt, just wildly inappropriate for its intended use.)  Giving the left side seams wide allowances would be a huge improvement - the skirt could be taken in or let out there relatively simply.  Not embroidering the logo through the stitched up hem would also be good - then the hem could be adjusted!  I still wouldn't like it much, but those minor changes would make a vast difference to the longevity of the skirt.

Rant over.  Phew, I really needed to get that off my chest.

Wednesday, January 16, 2013

I'm baaaack....

Well it seems like a while since I was here, and I had a very prolific December sewing wise.  However after a fantastic holiday at Lake Rotoiti (in the Nelson Lakes district) for a family reunion (which included a visit to the World Of Wearable Art museum in Nelson, which was fantastic!) we returned home to a dead computer.  Blue screen of death, etc etc.  Fortunately we have a couple of IT experts in the family, and while one lot were (and still are) rescuing the un-backed-up (YES I KNOW!) contents of our old one (three or so years of photos most importantly) my SIL was able to procure a machine for us, due to be recycled, hence free!  While not the latest and flashest, it is a decent step up from our old one, and got us back online. We're currently working out how to use windows 8, which those of our acquaintance who do programming and such Do Not Like.  Since none of us do, we're quite happy with it.

The only annoyances for me are that it does not have spider solitaire on it, and our camera software is not compatible, meaning I have to get something else to edit photos.  Since mostly I just crop and rotate them that isn't a big deal, and I did these in Paint!

Right, onto a small sampling of what I've been sewing!


This dress is for the daughter of a friend of my dear friend J.  She gave me this fabric, which was big enough for two dresses - one for Isabella, and one for F.  In exchange for F's dress, I get the rest for Isabella.


Isabella is remarkably willing to model a dress which isn't for her.  This is a size 122 drafted from Aldrich.
Isabella is around 110cm tall, so this fits much as I expected, although it isn't as long as I would expect.


This dress IS for her.  She was very very willing to model it for me and this ended up being the best shot.  Given camera/computer dramas I'm not enthusiastic about another photo shoot.  It's the first thing I've made from one of the Enid Gilchrist books I received from a lovely reader quite a while ago.  I absolutely loved the books, and had plans for several things - either garments or details, but life seemed to get in the way rather a lot.  This is described as a school dress, and I assume is what school uniforms looked like in Australia in the 60s.  It's a size 6, which is great on my tall 4 1/2 year old.  The dots are stenciled on with freezer paper.


For myself I made this top from Pattern Magic 2.  It's called flip turn because of the way one of the pieces flips over the other to create the drape effect.  The drafting was pretty straight forward, and since I'd toiled the block when I first got the books I didn't have to start by doing that.  This is my second version.  After making my first (which I also wear happily) I skimmed in the sides and added a couple of cm to the length.  I've seen other peoples versions of this which are a snugger fit, and I'm thinking I might sneak a little more width off the front, which is wider than the back.


(I know cropped pants are not the most flattering look, but they are very comfy when you don't know whether the weather will be hot or cold.)

And last of all, this shrug.  It's McCalls 5398, now OOP.  This was another garment courtesy of J - I made one for her and one for me from a piece of fabric of hers. We've joked for a while that we're twins separated at birth because of our similarity of taste, and we now have several matching garments.  We'll have totally matching wardrobes before long.

I love shrugs - just enough warmth when it gets chilly, and they don't cover up the details on a pretty dress or top.


So there you go, a brief look at what I've been up to.  When kids return to school and kindy and I have a better idea of what I am doing computer wise I should be able to do a little better with photos.  The mojo seems to be in full swing, so there might even be some MORE SEWING!