As much as I want to finish my dress, it's taking a backseat this week so I can make a top for a dear friend to whom I owe sewing in return for babysitting during the school holidays before I had the twins. Um, yeah, she's patient! (actually she waits till she wants something then cashes in a favour). Even if I didn't owe her sewing I'd want to do it because she's a) lovely, and b) a real pay-it-forward kind of person. She truly deserves a bit of pretty coming her way. Anyway, she's just undergone surgery and (as you do) needs a pretty new top. This is one that we copied for her from a RTW top a couple of years ago. By "we" I mean "me-while-she-sat-beside-me-saying-"uh huh"-at-relevant-points-and-feeding-me-Pinky-bars." I got started on it yesterday and quickly decided that it needed to be prettified. J and I have very similar taste so I am a little more confident that she will like something I like than other friends would.
My first idea was to do a very simple applique using a running stitch around a stencil design then cutting away the excess fabric, a technique very similar to what I've done on my children's designs with an influence from the utterly stunning work of Natalie Chanin (if you've never heard of her, go and check out Alabama Chanin). After I'd done the first one I was not convinced. Here's the best photo I could get of the front of the top with one applique done and two others pinned in place.
 I just wasn't feeling it, so I decided to paint a couple and see if they look better. Since they're on scraps of fabric there's no risk of wrecking J's top if it doesn't work or she doesn't like it. Two silver and one burnt umber, on two different coloured fabrics. Now to watch the paint dry......
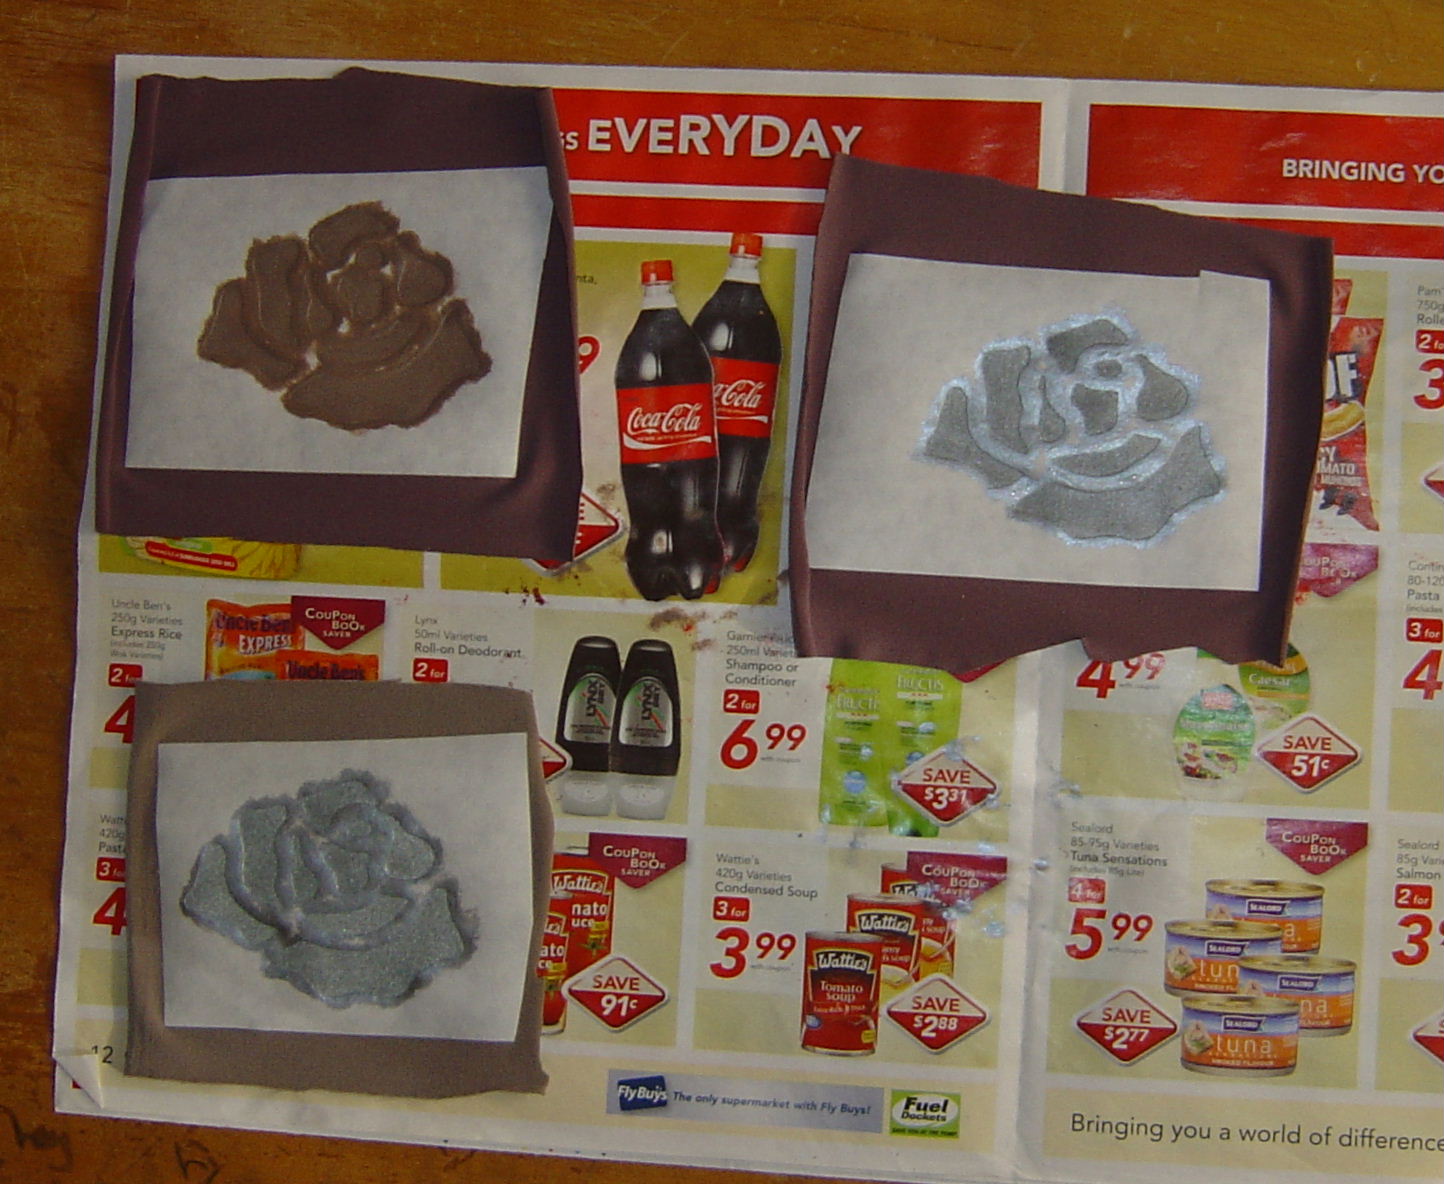
.......and they'll look a little like this. Once the paint is properly dry and heat set I'll figure out how best to attach them to the top. I'm thinking of going back to the running stitch (with toning but slightly contrasting thread) and trim method.

And just to finish I thought I'd show what happens when you forget to cover (or lower, if that's an option) the feed dogs on your sewing machine as stated in the instructions before using your new favourite toy, the Greist buttonholer. I was trying to go around each buttonhole twice and the second one wasn't lining up with the first. After four keyholes and one short buttonhole (and several heart palpitations) I realised my mistake and covered the feed dogs. After which I got a beautiful short buttonhole and the most Perfect Keyhole Ever. I am so in love with this. I need to make myself a(nother) coat just so I can USE it!


Love the result of your silver stencils!
ReplyDeleteI'd love to be able to do keyholes! I might look into one of these - do they work on any machine that does zig-zag?
By the way, in my latest post I've tagged you in a game of 8 questions if you'd like to play!
Inspired stencil solution - and I can appreciate your chuffedness at the Perfect Keyhole Ever. I bet you button-tested it too!
ReplyDeleteI love the applique idea. Anxious to see what the finished top looks like. Making buttonholes always scares me. I don't know why, my machine makes okay ones.
ReplyDelete