Tuesday, December 9, 2014

Slow roses

Well these were a long time coming - both dress and post!  Shortly after I last posted the manager at work resigned, and I worked full time for two months while a new one was recruited, worked out her notice at her previous job, and was trained.  (She is really lovely, so worth waiting for!) I know plenty of women work full time and manage a family, and sew, etc etc etc but I found that by the time I got home at 6pm (when it was dark, since it was winter) I was totally lacking in motivation to actually sew anything.  I continued sporadic work on this dress (which I know I'd begun by January) missing two deadlines by which I'd considered finishing, before a final full-on push to finish in time to wear it to a barbecue we were invited to the day after a wedding we were also invited to, in Wanaka last weekend.

Tada!  End result of almost a year's work, around 100 hours probably.  Alabama Chanin six panel dress, rose stencil adapted from a design I found in a library book.


Once again  a side turned head I'm afraid - I could not get a shot of my face that didn't make me go "Urgh!" and hit the delete button.  The tripod pics get the job done, but a real live person behind the camera gets a much better shot!

I also made a new dress to wear to the wedding (naturally!) but did not get a single photo of myself at said wedding, so will have to dress up for the camera some other time.  Not today because the dress on which I based the pattern is in the laundry and I need to show both of them.  Hopefully it won't take me four-ish months to get around to it.  No promises.

Edited to add - I've just proofread this after publishing and noticed some words are underlined and link to ads!  I'm not active enough online to have any idea what that's about, so my apologies for the annoyance, I'll get my tech support team (ie, the teenagers) to explain it to me and see if we can make it go away.

Thursday, July 3, 2014

I made a dress. And undies.

I find the sewing mojo tends to desert me in winter, despite the fact that my sewing desk is in a lovely sunny corner of my house, flooded with sun and natural light and lovely to work at.  This winter is no exception, and I have a pile of projects in various stages of completion - some just vague plans, some concrete plans with pattern and fabric selected, some cut out, some partly sewn.  I find it best to just go with whatever project fires me at the time.

Which was this dress a week or so ago.  I'd seen it in the April Burda (style #106) and decided that I Must Have It.  I even had that issue out of the library before it hit the store shelves here, but didn't get around to tracing it because I didn't have fabric chosen.  Then when sorting my fabric stash I came across this one which fit the bill perfectly - very drapey, neutral colour. I bought the magazine on a Friday and finished the dress Monday night, leap-frogging SEVERAL other already started projects. Typical.


The front collar thing drapes really nicely, but I did end up hand sewing it from the point to where it is joined a bit further up the neckline. It flopped just a bit more than I liked. Next time I make this (I feel a shorter version coming on, to wear with jeans) I'll just sew it in all along the neckline seam.

It is a bit wrinkly from wearing, which I didn't notice till I looked at these pics, and rushing to get in front of the camera after pressing the timer button means that I didn't get the collar to sit perfectly either, oops. I love the shapely little cap sleeves.

I made a straight unaltered size 36, which with the benefit of hindsight would be perfect if I wanted to wear it like this, but it is winter here, and COLD. So I wear it with my cosy warm tech merino under it, bulking things up a bit.  For work I wear it with this mid-weight cardy over the top, leggings and my beloved pink boots.  I love that this colour was introduced by work because it matches them perfectly!


I feel I should apologise for the pretty uninspiring photos here. Today is my day off and quite frankly I've been that busy lately that the thought of brushing my hair, let alone styling it nicely, or in any other way making an effort was just Too Much. I figured I'd snap these and at least get it posted.  Maybe next time I wear it to work I'll take some better ones - better yet, get David to take them because he makes me smile. I feel like an idiot smiling at a camera on a tripod so tend to look a bit dour.

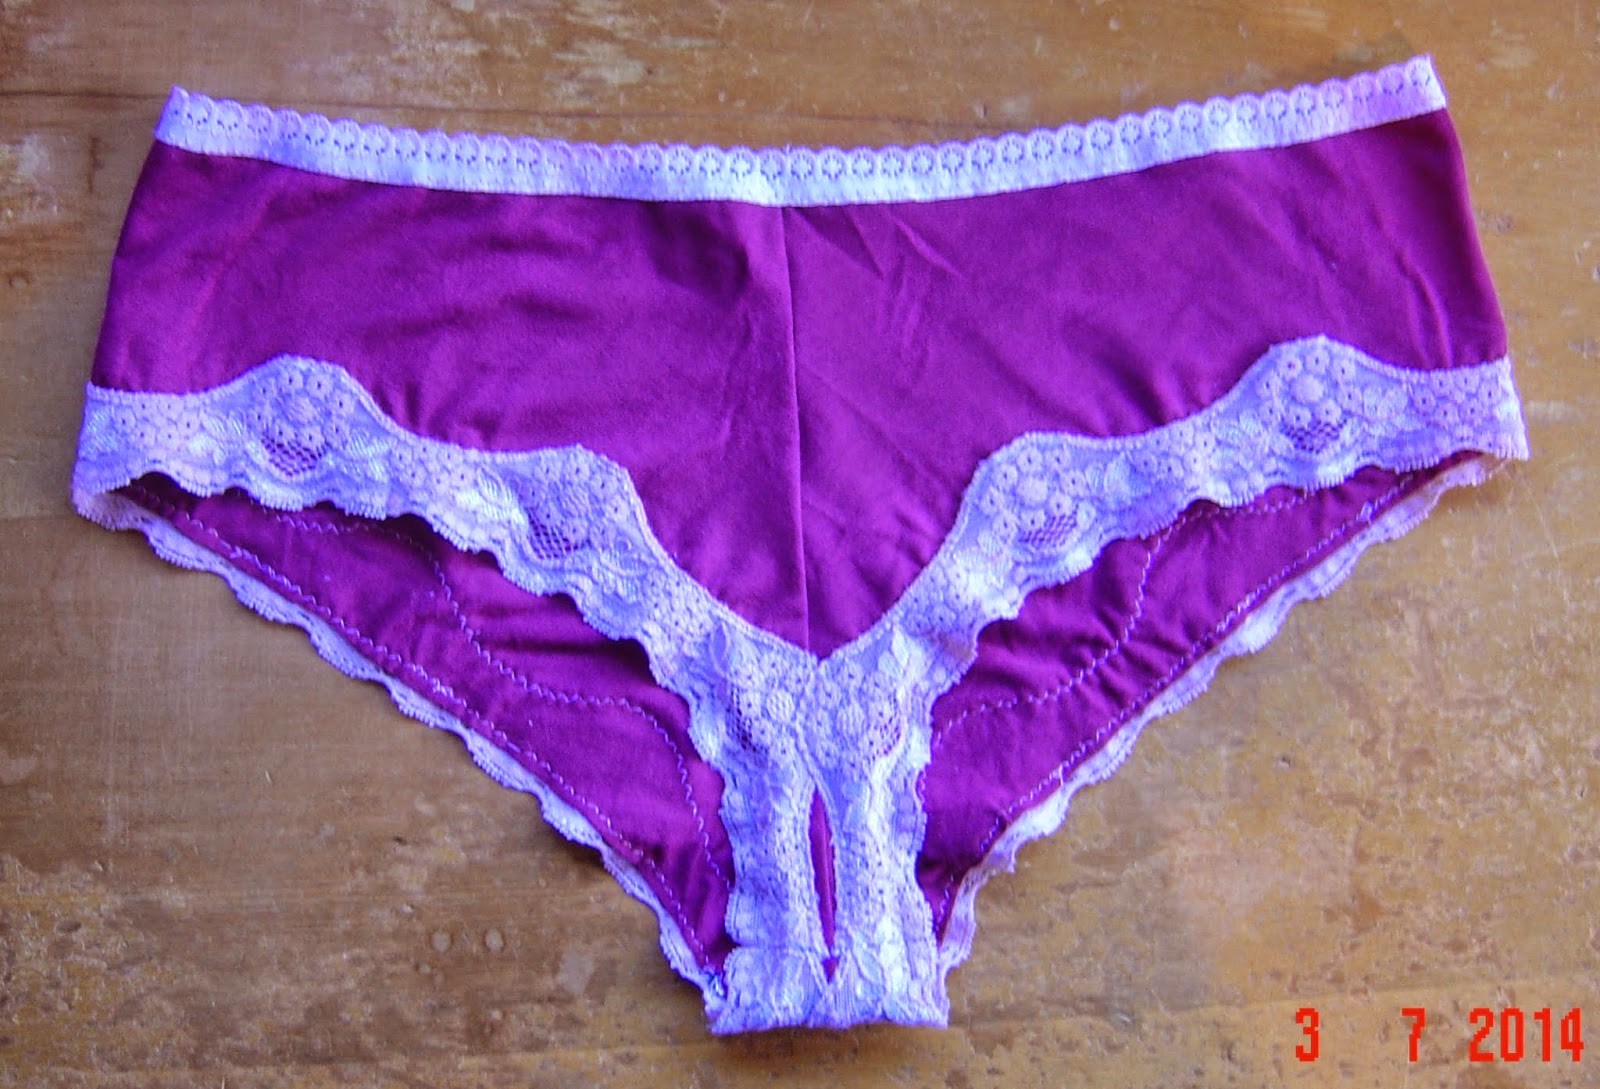
My other quick project was these - the Rosy Ladyshorts from Cloth Habit.


I haven't made myself undies for over 20 years, but find as I get older I'm getting fussier about how I like them to fit, so thought I'd give this pattern a go. The fabric is an offcut from a drapey cardy I altered for one of my craft group friends. It needed the droopy front point reduced, and what I cut off was big enough to trial these undies. I made them exactly according to instructions and I like how they turned out.  I haven't worn them yet since I only made them yesterday evening and wanted to photograph them before wearing, so I'll report later on how they are!

Thursday, April 17, 2014

The $7 Tinkerbell costume

Georgia was going to a Peter Pan themed birthday party (can we just take a moment here to rejoice in a bunch of 14 year olds who think this would be fun, rather than something involving pretty much any celebrity of their demographic?) Anyway, she wanted to go as Tinkerbell, which I thought would be a really easy costume to make. It was. It was also very cheap!

I found this cotton waffle weave dressing gown in Tinkerbell green in an op shop for $1. Score!


After cutting out the pieces for the dress, this was all we had left. The pattern for the dress was a blend of two patterns - bodice from #124 and skirt from #110 from Burda 06/96. This is why I have a large collection of Burda back issues. I can always find a pattern which will speed up any drafting required for any style I need! Fabric constraints meant that I had to fold out one of the skirt pleats which reduced the very pronounced hips that Tink has, but it was close enough. Georgia requested that her skirt be a tad longer than Tink's also. (ie, not in danger of showing her knickers if she bent over) Phew!


And here's Tinkerbell. I bought her wings at a dollar type shop for $3.50 and she bought a can of yellow hairspray for $2.50. She made a wand from a twig painted pink and tied on various scraps of organza ribbon which I had lying around. My clear strapped bra and green shoes finished her off.


I did pin fit the bodice on Georgia, but that was the total extent of care taken! No internal structure whatsoever (the dress is safety pinned to her bra), no seam finishing other than clipping and topstitching open. The hem is raw and the only time any of the project saw an iron was when I needed to press the dressing gown's front band open to cut facings from it. Rather different from my usual anal attitude that Everything must be Just So.


And to finish, while we were taking photos Isabella wanted in on the act. Big sisters being what they are, Georgia photobombed.


Friday, February 28, 2014

Drape Drape quickie

Having long been a fan of the Drape Drape garments showing up all over the internet, and having had Drape Drape 1 out of the library already, I was beside myself with glee to find 2 and 3 on the shelves a couple of weeks ago.  I LOVE the Dunedin Public Library!

I have several patterns traced and in the queue of stuff-I-have-to-make, but as a first dip of the toes into these books I started with this design, #4 from Drape Drape 2.


My measurements suggested I could make a size M, so I did.  My fabric is possibly slightly less stretchy/drapey than would be ideal, resulting in the right sleeve thingy not hanging as gracefully as I would like, but when I'm not standing with arms at an angle to show this, it looks fine!  I raised the neckline by about 5cm as I was a bit worried that it would be too low.


Back. It's cut in one piece so those stripes have been manipulated into this direction! The one pattern piece looks like this.


It was very quick to make and is really comfy to wear. Today I'll wear it to work, styled like this. One of my Glowing Sky skirts, and my long drapey cardy (which I loooooove - this cardy is divine to wear and looks great with EVERYTHING!)

When I showed Georgia the T shirt yesterday after I'd finished sewing it, she gave it the teenage seal of approval, and suggested styling it like this for work. My other GS skirt, her black GS shrug  and my recently thrifted $8 pink boots.

I'm in trouble. The teenager has OPINIONS.

Speaking of the teenager, I recently made a wedding dress for her intermediate school textiles/food tech teacher.  Here it is.  Miss M is a stunning 6 ft tall brunette, so the dress doesn't fit my dummy at all well.


Bodice detail. Those lace straps sat perfectly on her shoulders, trust me!  Since the straps are purely decorative, the dress is constructed as though it is strapless, with a separate boned corsolette inside which provides all the support. On her it is slightly off the floor. I wish I had taken photos to show the lace borders carefully and painstakingly appliqued by hand onto the upper and lower edges of the bodice.


Anyway, Georgia was in her textiles class the other day, with other girls who had been at intermediate with her, and they were looking at bridal magazines. She casually drops into the conversation "This dress looks a bit like Miss M's wedding dress, but the lace on the bodice comes down a bit further". To which (of course) the response was "How do you know what Miss M's wedding dress looks like?!". Which of course gives Georgia the golden opportunity (probably waited and plotted for for weeks) to nonchalantly say "Oh, my Mum is making her dress. She comes to my house for fittings"  Her friends were suitably awestruck and impressed.  And Oliver (who is still at the intermediate at which Miss M taught) took a photo of her in the dress (which I took when she picked it up) to school to show his teachers.

Nice to know I can give my kids something to brag about :-)

Monday, January 27, 2014

Accessorizing

Hiya! Back again! I've been a bit busy since I last posted *ahem*, almost three months ago.  I've done some sewing, mostly for other people, and as I mentioned in my last post, WORKING!  I loooove where I work.  I'm working part time at Glowing Sky, which is a company who make merino clothing.  The wool is grown in NZ, and the company manufactures here in NZ too.  It gives me a warm glow to work for people who are so committed to NZ, and to know that no sweatshop labour is involved in making the clothes! And having to wear it as work uniform is no hardship either!

Anyway, this lovely merino really lends itself to bold accessories, and I've long wanted to make myself a really wide corset belt, so finally got around to it last week. The pattern is from Burda 11/03, #129.

Exhibit A: (top and skirt are from Glowing Sky.) Side turned head is less about artistic posing and more about the manky, unsightly coldsore currently on my lip.


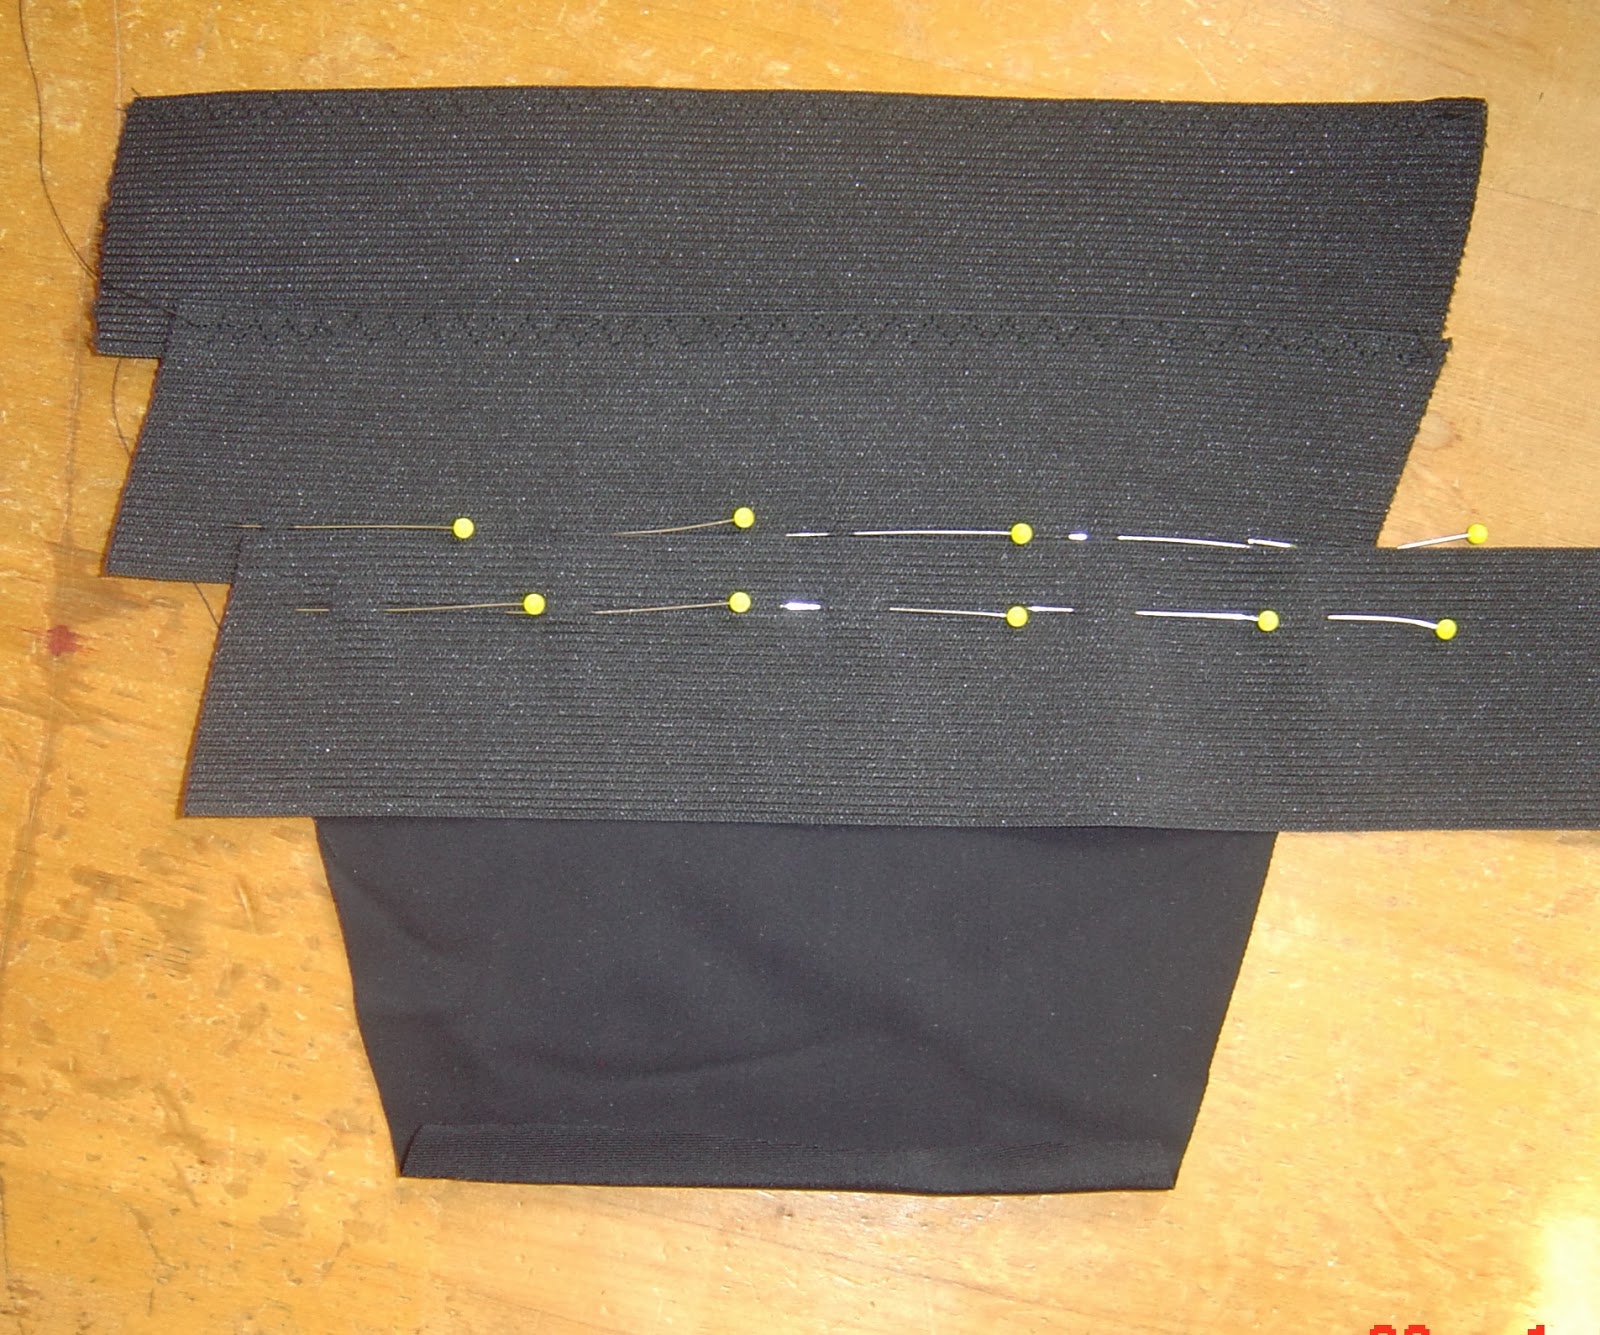
Back.  The black panel at CB is made of strips of elastic sewn to a lycra backing.


And this is how I wore it to work. The shrug is Glowing Sky too.  Note to self: wear a better bra.


And that worked so well that I made another one.  This fabric was left over scraps from a handbag I cut out years ago and have yet to sew up.  It's pretty flimsy, so I fused two layers of lightweight interfacing to the face fabric and one to the (much beefier) backing, which worked perfectly.


Back. Exactly the same construction.

The silver belt was made from three layers - face fabric, buckram, backing fabric.  The face fabric wrinkles a bit when worn because it has a bit of stretch and I should have cut it slightly smaller to allow for that. You live and learn.


The back panel is just strips of 5cm elastic, which I sewed to a backing of swimsuit lycra, to give it more beef.

When making the 2nd one I found the bulk of the seam intersections was near impossible to reduce/flatten.  No way would I wear this mess!


So I used a strap seam. I cut away all the seam allowance and sewed each side to a strip of fabric at the back so they butted exactly, then sewed binding over the front. After this shot I inserted boning which made it look even better.

Going back a bit, one of the projects eating into my sewing time before Christmas was this trench coat.  Keely was to be Godmother to a Very Special Baby, and the best gift she could think of was to commission me to make something.  Between us we came up with this. Influenced very largely by this one which I had pinned on Pinterest.


And in the mean time I am beavering away on Alabama Chanin projects, as always. While the kids are home on holiday I can do this in tiny bursts while constantly interrupted.  I'm working on a 4 panel skirt, and I have a matching 4 panel top to go with it as well.  IF SUMMER EVER ARRIVES.


To start this project I put off this project - the rasberry/maroon rose stencil dress I have wanted to make for months. I finally found the right shade of rasberry and got stuck in.  Then I thought, perhaps I should make a summery outfit, and do the dress (which I can wear year round) nearer winter.


As far as Dunedin's summer is concerned, lets just say it's a good thing I work in a store that sells merino clothes!